TRADE PRICES FOR EVERYONE! - SHOP OUR HYGIENIC DECORATIVE CLADDING RANGE!
5 Common Cladding Mistakes to avoid
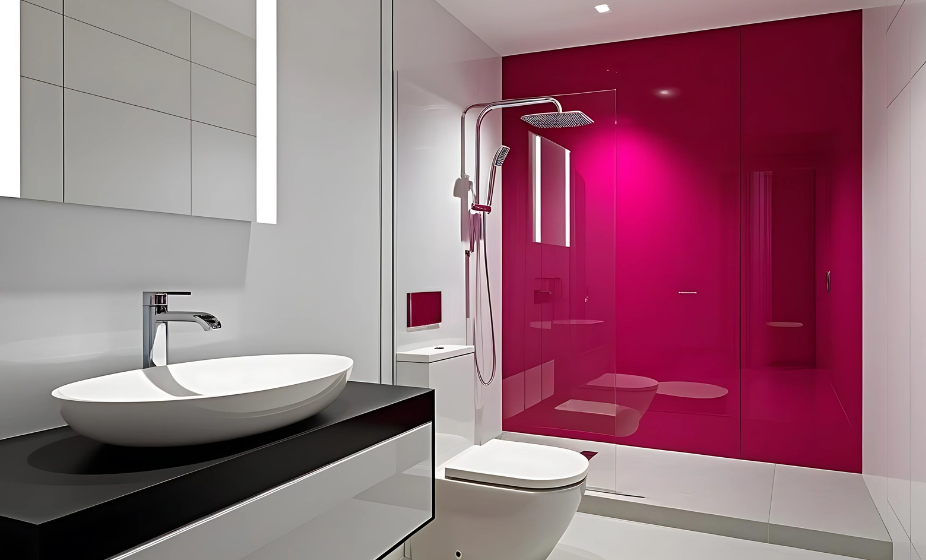
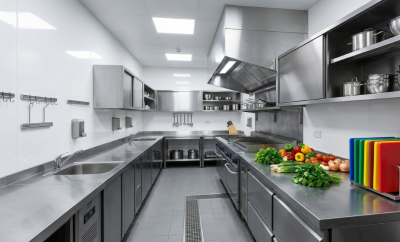
Most people think installing PVC cladding is a simple "glue and go"job. While it is certainly faster and cleaner than tiling, it isn't quite as simple as sticking plastic to a wall and hoping for the best. If you want a finish that stays hygienic, looks professional, and remains watertight for years, you need to avoid a few classic blunders.
Here are the top five pitfalls we see in the field and how you can get it right the first time.
1. Skipping the "Chill Out" Period
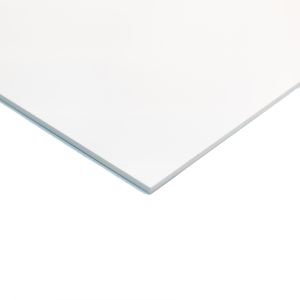
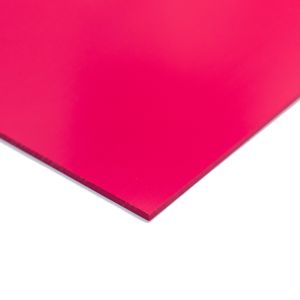
PVC is a "live" material, meaning it expands and contracts with temperature changes. One of the biggest mistakes is taking sheets straight from a cold delivery van and sticking them onto a warm kitchen wall.
The Fix: Always let your cladding sheets acclimatise. Lay them flat in the room where they will be installed for at least 24 hours before you start work. This prevents the sheets from bowing or warping once they are on the wall.
2. The "Blobbing" Method
We have all seen it: someone applies five or six large blobs of adhesive to the back of a sheet and presses it home. This creates air pockets behind the cladding, which are ideal breeding grounds for bacteria and mould. It also makes the sheet much more prone to denting or damage.
The Fix: Use a notched trowel to spread your adhesive across the entire back of the sheet. This ensures a 100% bond with the wall, leaving no hidden gaps and creating a much stronger, flatter finish.
3. Forgetting the Expansion Gap
Because PVC moves, it needs a little bit of" breathing room" within the trims. If you butt the sheets tight against the internal corner or the edge of a joint, the sheet will have nowhere to go when the room heats up. The result? Bubbling and unsightly ripples.
The Fix: Leave a 2-3mm gap inside your trims and joints. This small bit of foresight allows the system to expand and contract naturally without ruining the look of your wall.
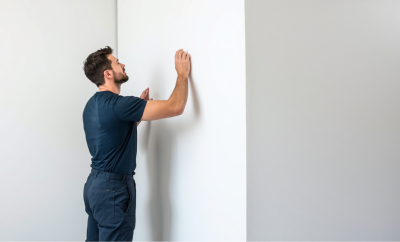
4. Working on "Dusty" Foundations
No matter how good the adhesive is, it won't stick to dust, grease, or loose paint. If you are installing cladding over old tiles or a freshly plastered wall, any surface contamination will eventually cause the bond to fail.
The Fix: Give the walls a proper scrub with a degreaser and ensure they are bone dry before you begin. If the wall is particularly flaky or porous, applying a primer first will give the adhesive the best possible chance of a permanent grip.
5. Mixing and Matching Brands
It is tempting to save a few pounds by using a cheaper silicone or a different brand of trim. However, our system is designed to work as a single, cohesive unit. When you mix and match, you often find that the trims don’t fit the sheet thickness perfectly or the silicone doesn’t bond correctly to the PVC.
The Fix: Stick to the system. By using our dedicated adhesives, trims, and silicones, you aren’t just making the job easier; you are also qualifying for our industry-leading Lifetime Guarantee. It is the only way to ensure a truly watertight seal.
Need a hand with your project? If you are planning a tricky install or just want to double-check your measurements, our team is always on hand to help. You can also download our full Step-by-Step Installation Guide for more detailed technical advice.
GET THE DEAL
Recent News


Do You Know?
January 5, 2024

Tuffnells
June 6, 2023

A Very Merry Christmas!
December 25, 2021
Transform your Spaces
January 9, 2025

PVC Cladding Direct Accreditations
April 25, 2022


Why Your Adhesive Choice Could Void Your Guarantee
May 28, 2026


